Quickstart
openGrid can be mounted to your wall, under your desk, or anywhere you want really! This guide is meant to help you get up and running as fast as possible.
Choosing the Board Version and Size
Section titled “Choosing the Board Version and Size”Board Versions
Section titled “Board Versions”openGrid comes in two flavors: the Full version, and the Lite version:
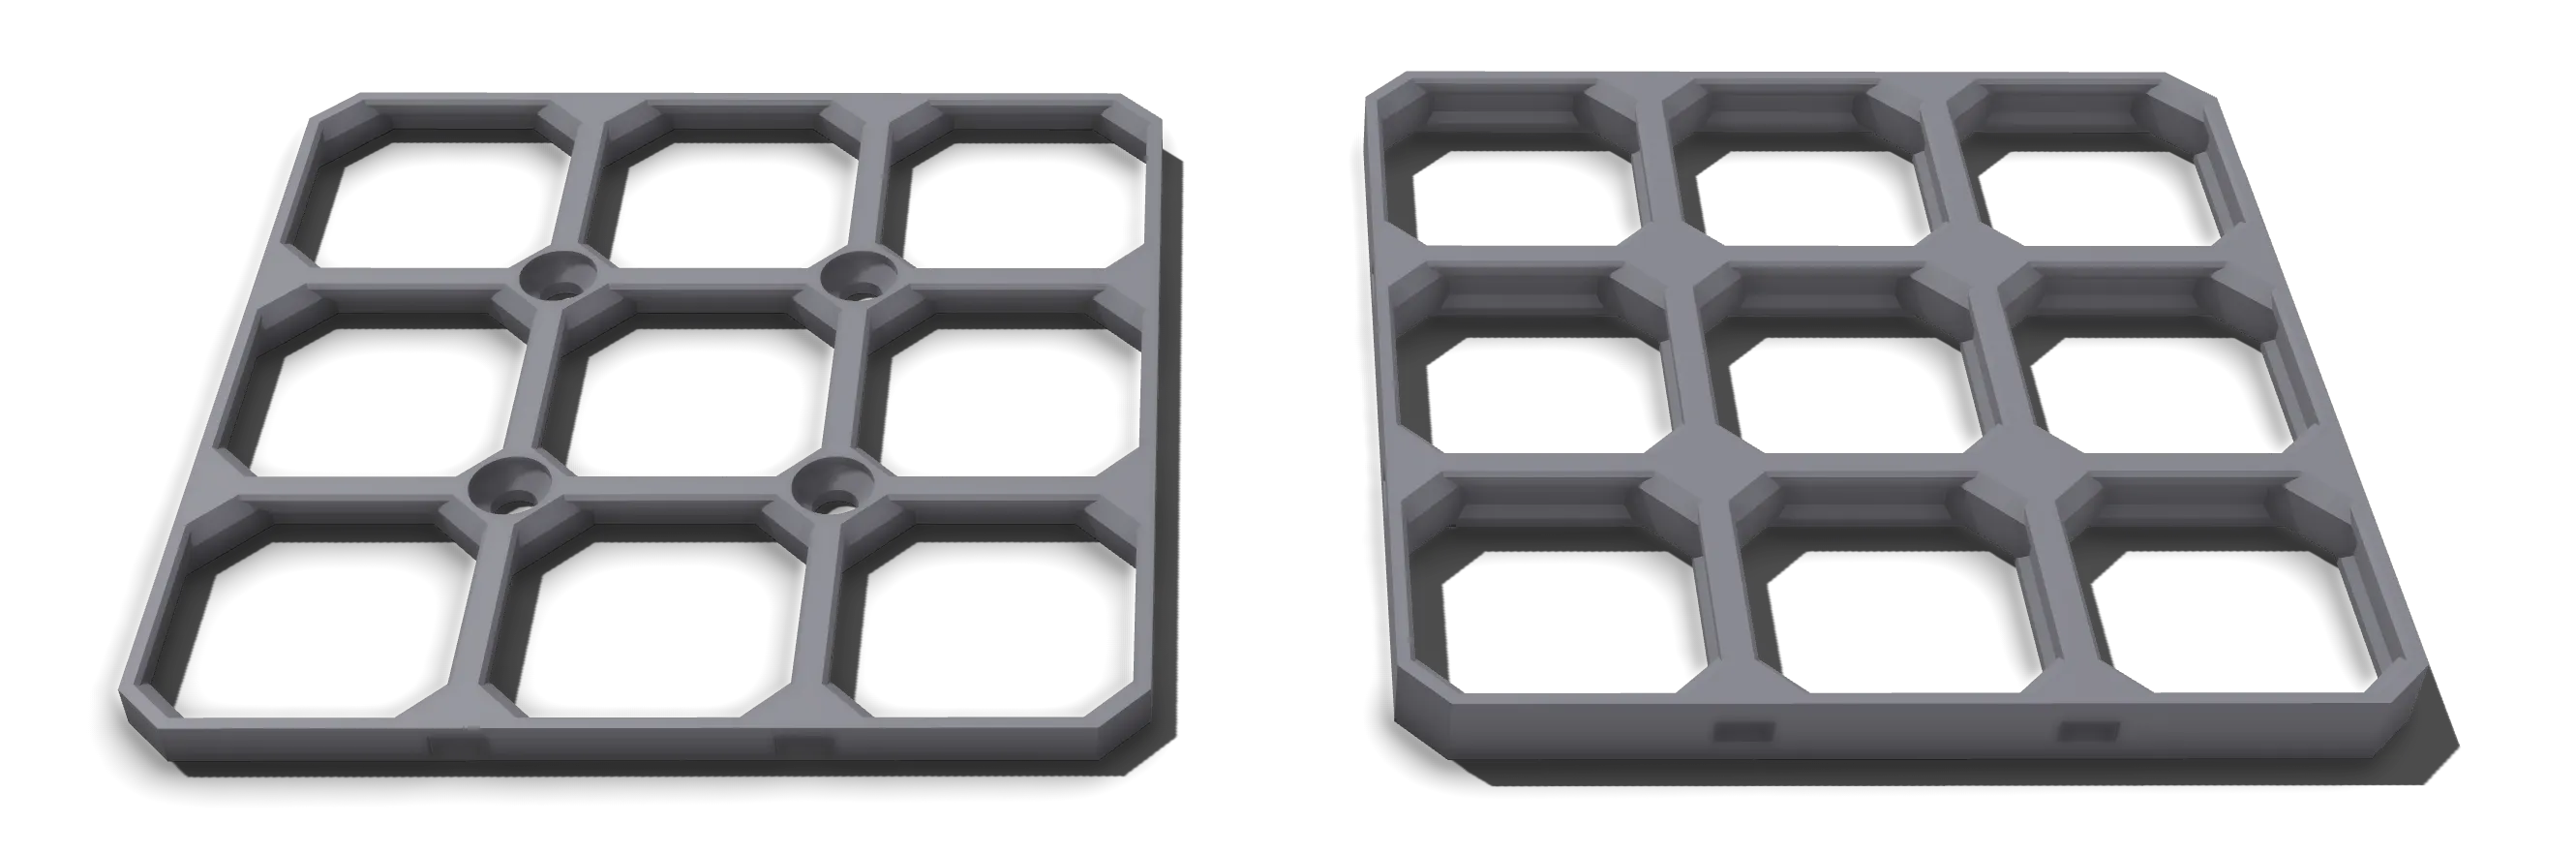
Both provide the same 28mm spacing, but the Lite version saves on filament and print time, albeit with reduced loadbearing capacity. The choice will come down to your particular use case(s), so the recommendation is to print both and test them out!
If you still have doubts after testing, the safest bet is to use the Full version.
Board Size
Section titled “Board Size”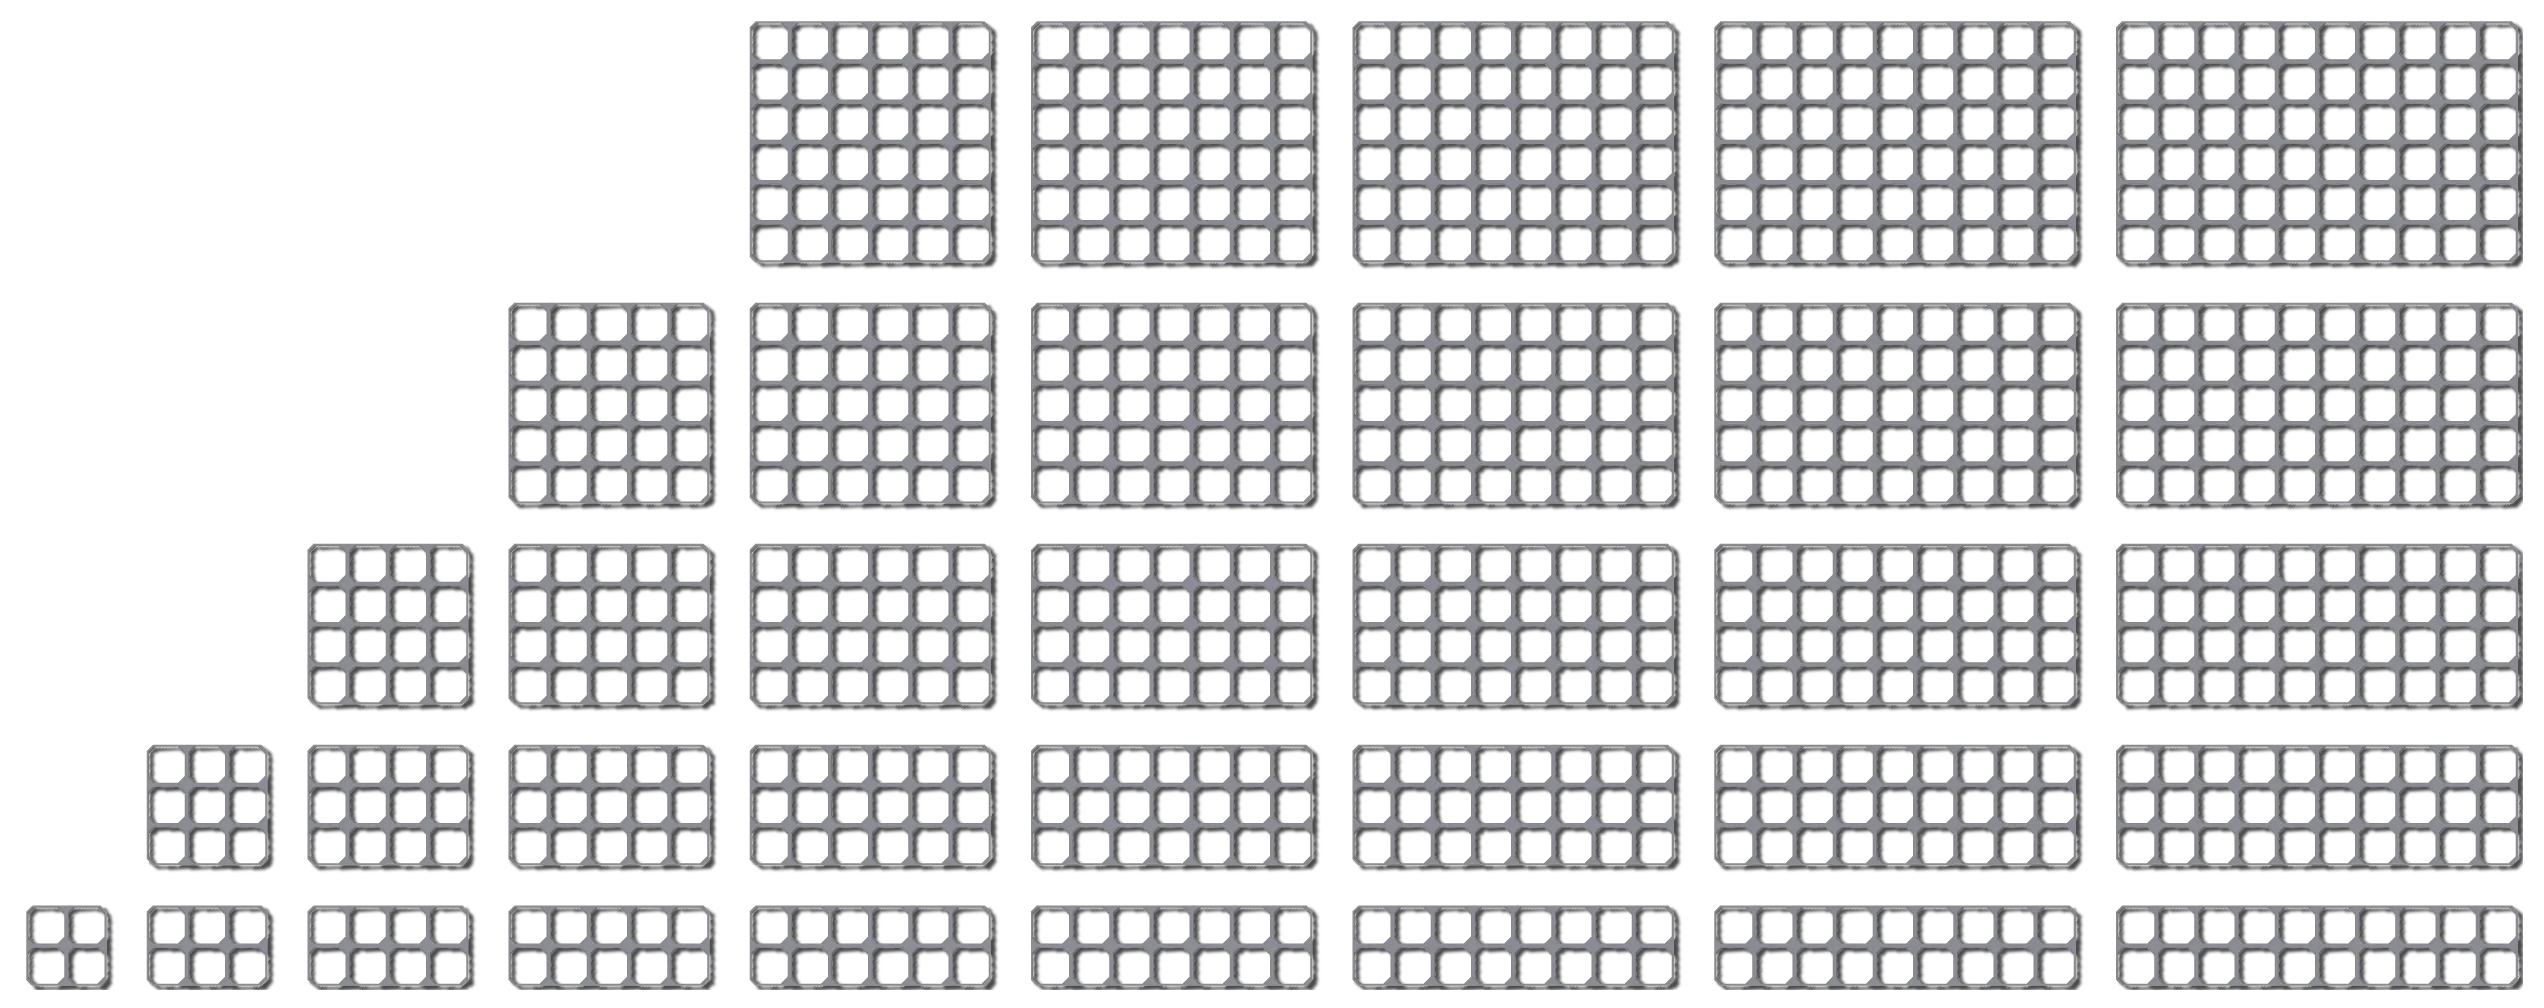
Boards can range from small 4x4 grids, to mammoth 10x10+ boards.
My recommendation would be to use the biggest size that fits your printer basically. Then measure how much space you have on your wall or under your desk and calculate how many of those boards you need. You may also add smaller boards on the edges to completely fill the available space.
Most printers should be able to fit a 6x6 board version. So if unsure maybe try to start there.
The board can be downloaded from different sources:
If you want to generate a board with your custom size (and features) you may want to use the generators:
Mounting your board
Section titled “Mounting your board”Mounting depends a little bit on what board version you used. In general:
- The lite board already has screw holes included, use those for mounting with some countersunk screws
- The full board needs to be mounted using mounting snaps, this will be described in the following
(Hint: You may also create full openGrid boards with screw holes using the generator, but this is not the default and thus not the focus of this guide)
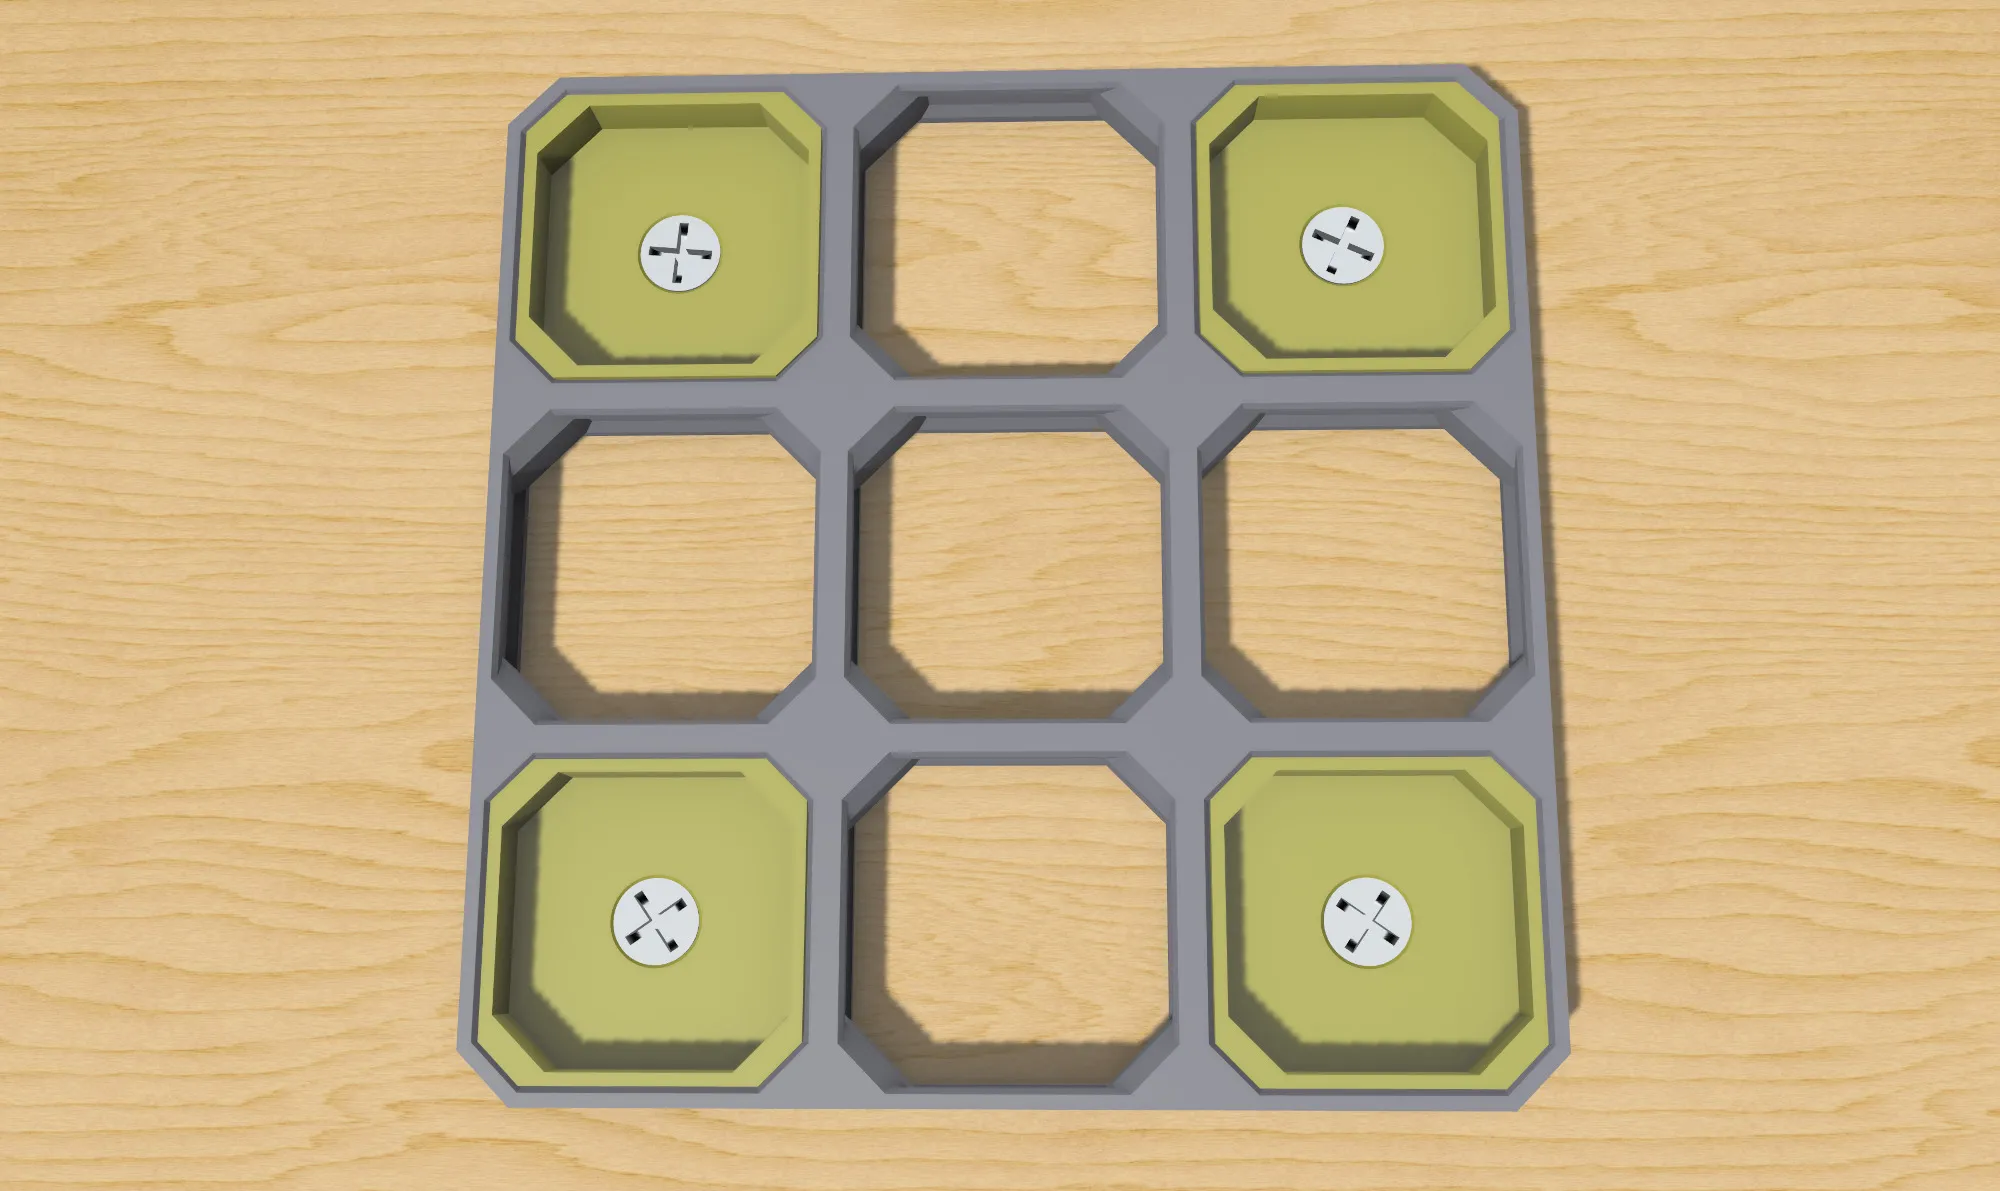
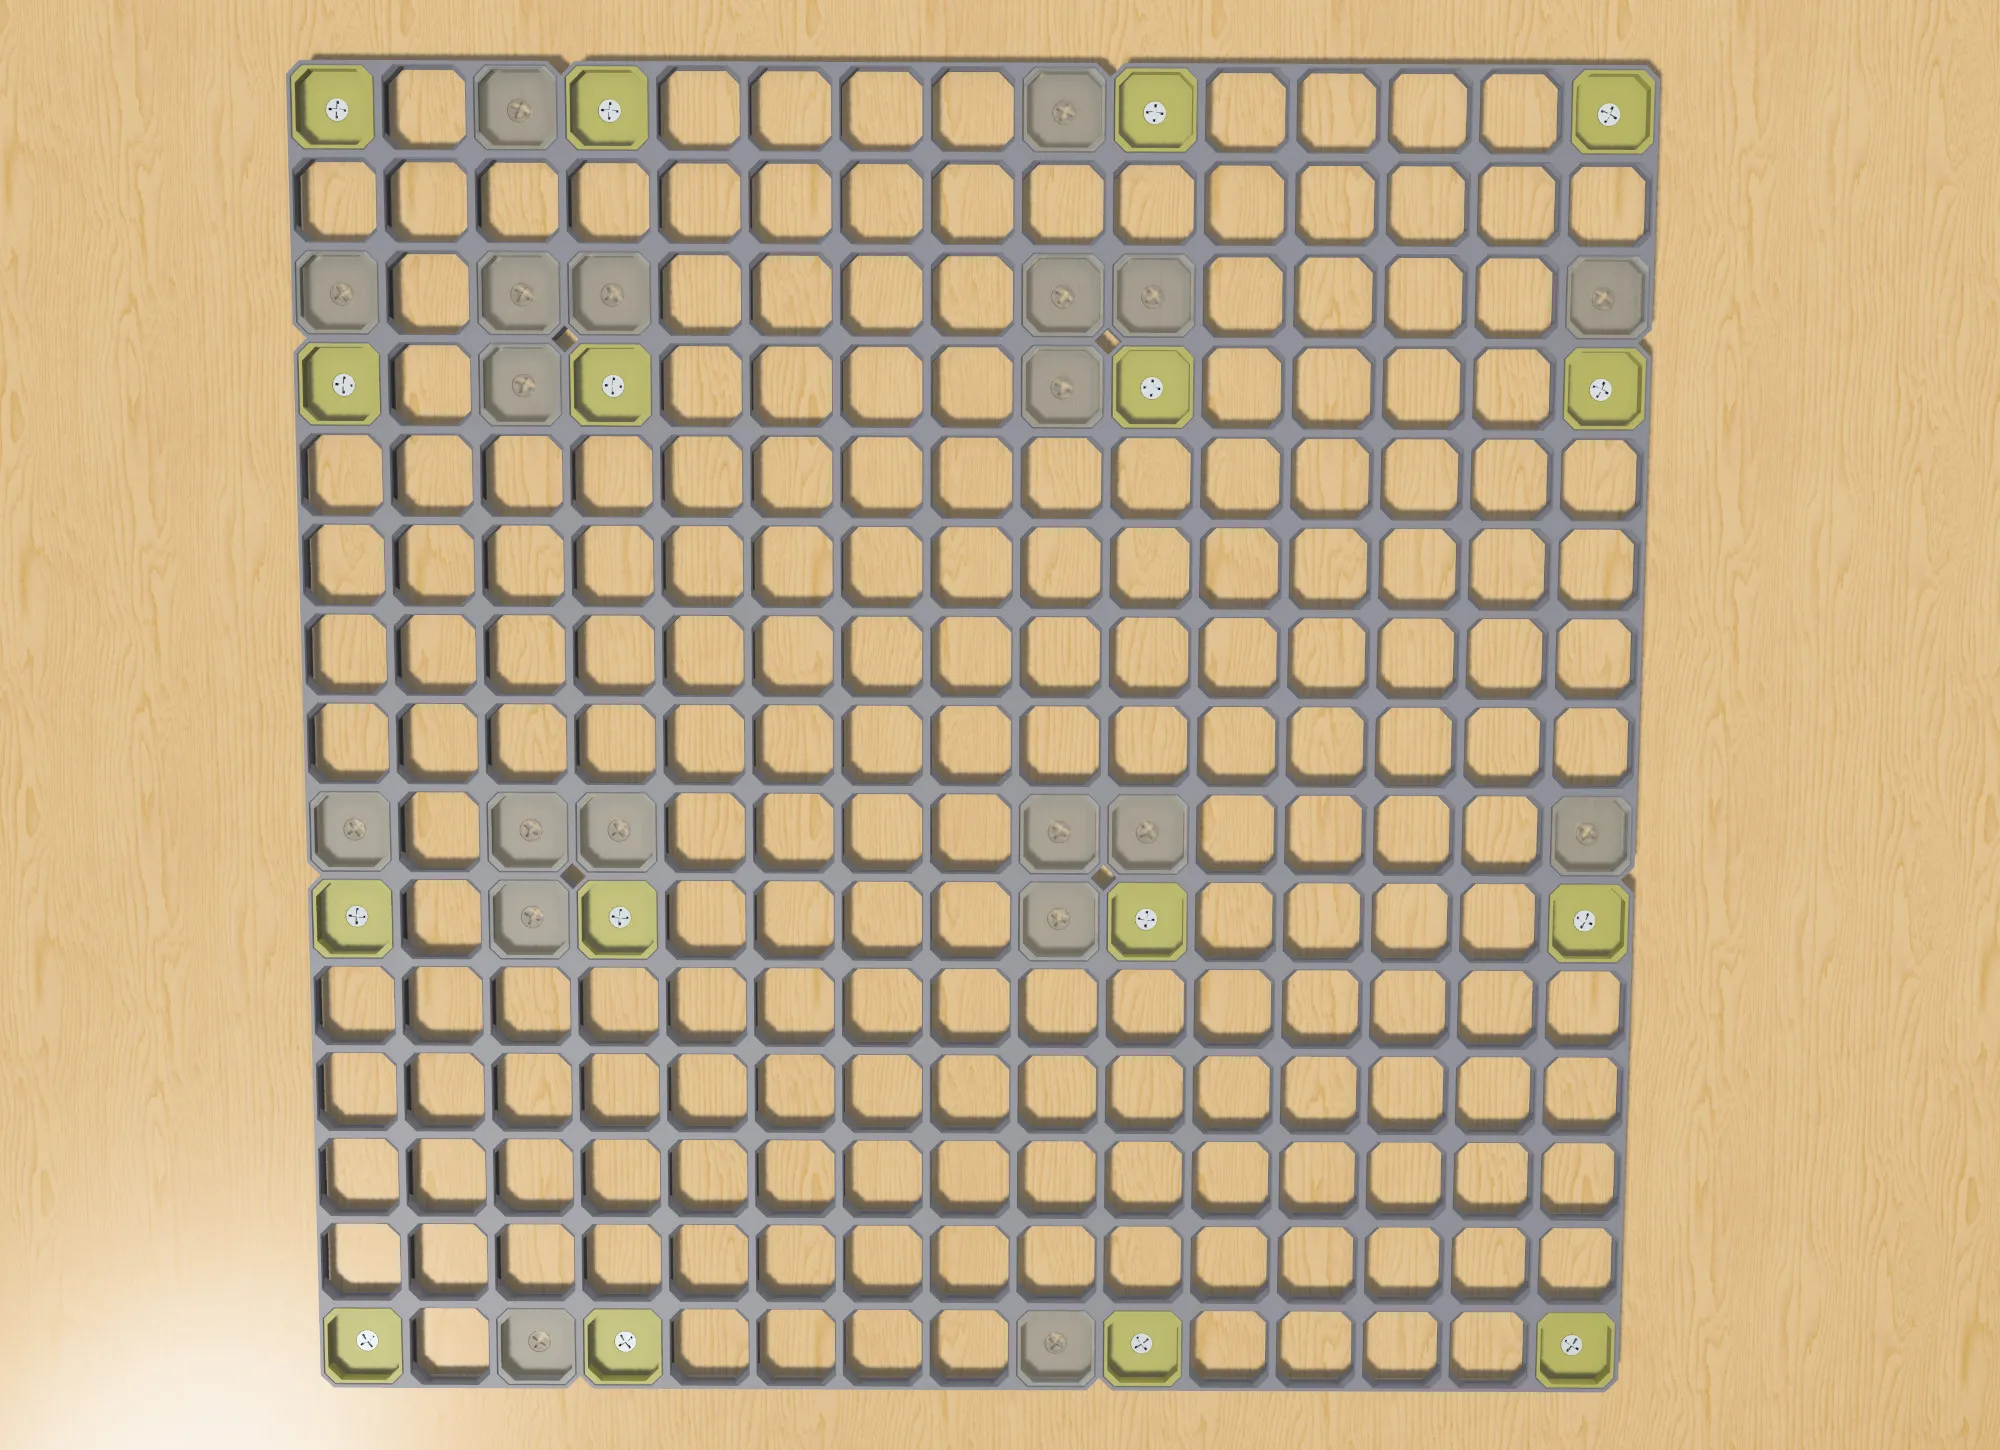
Using the mounting snaps in general is pretty easy. Just snap those into your board and use a countersunk screw to attach it firmly to your wall or similar.
There are other mounting options available through community models:
Connecting your board
Section titled “Connecting your board”You may want to use connectors to align your boards. Those will also ensure you can mount the whole board as one piece. My suggestion would be to print a connector for each hole, then snap the boards together.
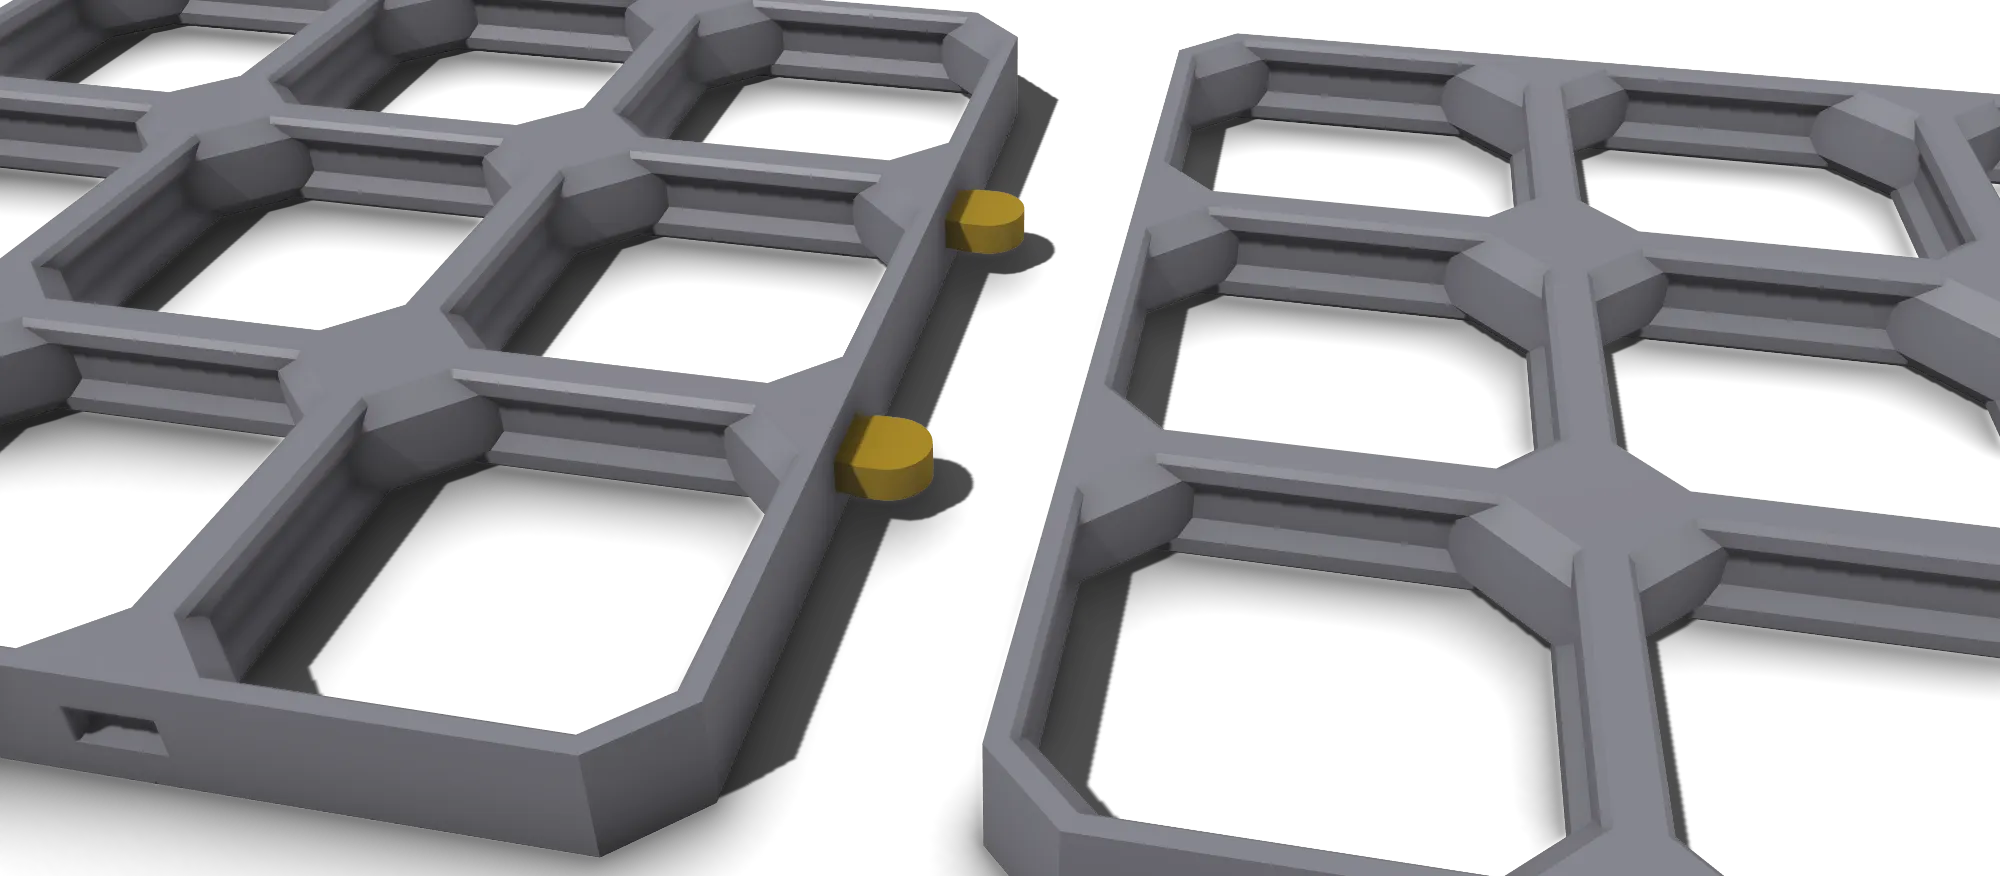
Repeat until you have the full board mounted
Section titled “Repeat until you have the full board mounted”You may add additional connectors while the first boards are already mounted to your wall or any other surface - or connect multiple boards and then mount those as one piece. Both works fine.
Normally you use a mounting snap on each corner of your used boards. But you may also skip most of the mounting snaps if you are using the normal connector on each slot. You may still add additional mounting snaps later if necessary, as those can just be added from the front.
Accessories
Section titled “Accessories”When you have completely mounted your boards it is time to add some accessories. Which accessories are best suited depends on your setup and use use. The quickstart will continue with two variants:
- For wall mounted setups add Multiconnect based Gridfinity shelves
- For under desk setups add Underware channels
For a generic overview of accessories continue to the accessories page.